Welcome! In this article, we will discuss how to install the Philips Hue Smart Lighting System. You will learn the step-by-step process of setting up this innovative lighting system in your home. From connecting the bridge and lights to configuring the app and exploring its features, we’ll cover everything you need to know. By the end, you’ll be ready to transform your space with personalized, automated lighting.

Table of Contents
Choosing the Philips Hue Smart Lighting System
Assessing your lighting needs
Before diving into the installation process, it’s important to assess your lighting needs. Take a moment to consider the rooms or areas in your home that could benefit from smart lighting. Identify any specific requirements, such as dimming capabilities or color-changing options.
Understanding the different Philips Hue products
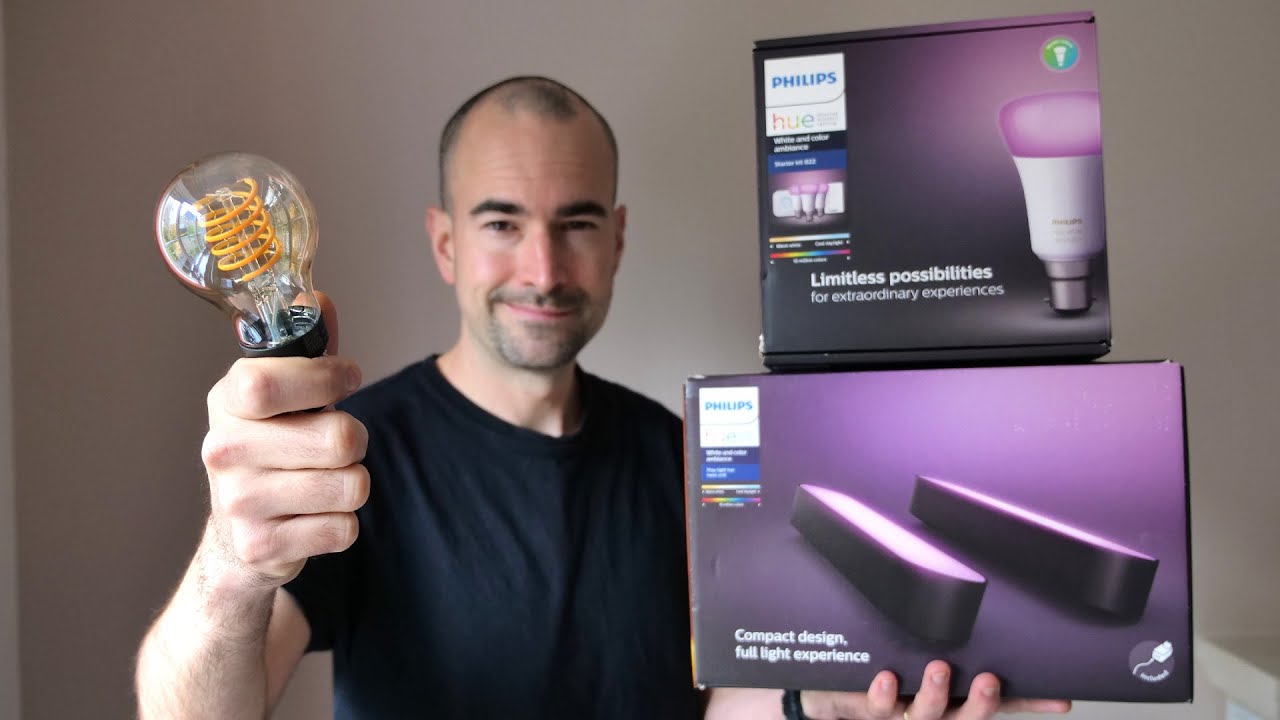
Philips Hue offers a wide range of products, including smart bulbs, light strips, and fixtures. Familiarize yourself with the different options available and determine which ones best suit your needs. For example, if you are looking to add ambiance to a room, the Philips Hue Lightstrip could be a great choice. If you need a more basic setup, the Philips Hue White Bulbs may be sufficient.
Comparing the available starter kits
To make the installation process easier, Philips Hue Smart Lighting System offers various starter kits. These kits typically include the necessary components to get started, such as the Hue Bridge and a few bulbs. Compare the different starter kits to find the one that aligns with your lighting needs and budget.
Preparing for Installation
Creating a smart home hub
Before installing the Philips Hue Smart Lighting System, it’s important to have a smart home hub in place. The Hue Bridge acts as the central control hub for all your Philips Hue devices. Ensure that you have a reliable Wi-Fi network set up in your home, as the Bridge connects to your network to enable communication with the smart bulbs.
Gathering the necessary tools and equipment
To install the Philips Hue Smart Lighting System, you’ll need a few basic tools and equipment. Make sure you have a screwdriver, as you’ll need it to install the bulbs. Additionally, ensure that you have a stable internet connection and a smartphone or tablet to download the Philips Hue app.
Checking the compatibility of your existing light fixtures
Before purchasing the Philips Hue Smart Lighting System, it’s essential to check the compatibility of your existing light fixtures. Most standard fixtures will work with the Hue bulbs, but it’s always good to double-check. If you have any unique or non-standard fixtures, you may need to purchase additional adapters or accessories to ensure compatibility.

Installing the Philips Hue Bridge
Connecting the bridge to your home Wi-Fi network
To begin the installation process, plug in the Philips Hue Bridge to a power source using the provided power adapter. Connect the Bridge to your home Wi-Fi network by following the instructions provided in the Philips Hue app. Ensure that you have a stable internet connection to enable smooth control of your Philips Hue devices.
Positioning the bridge in an optimal location
To maximize the range and performance of your Philips Hue Smart Lighting System, it’s important to position the Bridge in an optimal location. Ideally, place the Bridge near your Wi-Fi router and in a central location within your home. Avoid placing it inside cabinets or behind other objects that may obstruct the Wi-Fi signal.
Powering up the bridge
Once the Bridge is connected to your Wi-Fi network, it will start up and connect to the Hue bulbs. The Bridge will emit a soft glow to indicate that it’s powered on and ready to be paired with the bulbs.
Setting Up Philips Hue Bulbs
Screwing in the bulbs
To install the Philips Hue bulbs, start by switching off the power to the light fixtures you’ll be working on. Once the power is off, remove the existing bulbs and screw in the Philips Hue bulbs. Make sure they are securely in place before moving on to the next step.
Powering on the bulbs
After screwing in the bulbs, turn on the power to the fixtures. The Philips Hue bulbs will automatically power on and emit a default white light. This initial setup allows you to use the bulbs without pairing them to the Bridge, but to unlock the full potential of Philips Hue, you’ll need to complete the pairing process.
Initiating the pairing process
To pair the bulbs with the Hue Bridge, open the Philips Hue app on your smartphone or tablet. Follow the on-screen instructions to initiate the pairing process. The app will search for nearby bulbs and prompt you to confirm the pairing. Once the pairing is complete, you can start controlling your Philips Hue bulbs through the app.

Configuring the Philips Hue App
Downloading and installing the app
To control your Philips Hue Smart Lighting System, you’ll need to download and install the Philips Hue app on your smartphone or tablet. The app is available for both iOS and Android devices. Visit the respective app store, search for “Philips Hue,” and download the app. Once installed, open the app and sign in or create a new account.
Creating an account
To maximize the features and functionalities of the Philips Hue app, it’s recommended to create an account. This allows you to access your Philips Hue system remotely and enables features such as syncing with other devices and creating personalized lighting scenes. Follow the on-screen instructions to create a new account within the app.
Connecting the app to the Hue Bridge
After creating an account, the app will guide you through the process of connecting to the Hue Bridge. Ensure that your smartphone or tablet is connected to the same Wi-Fi network as the Bridge. The app will detect the Bridge and prompt you to confirm the connection. Once connected, you’ll have full control over your Philips Hue system through the app.
Exploring the Philips Hue App Features
Controlling individual bulbs and groups
With the Philips Hue app, you can control each individual bulb or group of bulbs in your system. Turn them on or off, adjust brightness levels, and even change the color settings if you have Hue bulbs that support color-changing capabilities. The app provides a user-friendly interface that allows for quick and intuitive control over your lighting.
Adjusting brightness and color settings
One of the key advantages of Philips Hue is the ability to adjust the brightness and color settings to suit your preferences. Whether you prefer a warm, cozy glow or a vibrant, colorful ambiance, the app enables you to fine-tune the lighting to create the desired atmosphere in any room.
Setting schedules and routines
Take advantage of the automation capabilities of Philips Hue by setting schedules and routines. With the app, you can create custom schedules for your lights to turn on and off at specific times. This is particularly useful for simulating occupancy when you’re away from home or creating a gradual wakeup routine in the morning.
Expanding your Philips Hue System
Adding more bulbs and fixtures
As you become more familiar with the Philips Hue Smart Lighting System, you may find yourself wanting to expand your setup. Philips Hue allows you to easily add more bulbs and fixtures to your existing system. Simply purchase additional bulbs or accessories, pair them with your Hue Bridge, and incorporate them into your app for seamless control.
Exploring additional accessories
In addition to bulbs and fixtures, Philips Hue Smart Lighting System offers various accessories to enhance your lighting system. Consider exploring options such as the Hue Motion Sensor, which detects movement and triggers your lights to turn on, or the Hue Dimmer Switch, which provides a convenient physical control option.
Integrating with other smart home devices
Philips Hue Smart Lighting System is compatible with many popular smart home platforms, allowing for seamless integration with other devices. Explore the possibilities of integrating your Philips Hue Smart Lighting System with voice assistants like Amazon Alexa or Google Assistant, or with smart home hubs like Apple HomeKit or Samsung SmartThings. This opens up opportunities for even more advanced automation and control.
Troubleshooting Common Installation Issues
Troubleshooting connectivity problems
If you encounter connectivity issues during the installation process, there are a few troubleshooting steps you can take. Ensure that your Wi-Fi network is functioning properly and that the Bridge is within range of the router. If the issue persists, try restarting your router and Bridge or contacting Philips Hue customer support for further assistance.
Dealing with incompatible light fixtures
Incompatibility with certain light fixtures can sometimes pose a challenge during installation. If you discover that your existing fixtures are not compatible with the Hue bulbs, you may need to purchase adapters or consider replacing the fixtures. It’s always a good idea to consult with a qualified electrician if you encounter any electrical complications.
Updating firmware and app versions
To ensure optimal performance and access to the latest features, regularly check for firmware updates for your Philips Hue Smart Lighting System. The app will notify you if any updates are available, and you can easily install them through the app. Similarly, keep your Philips Hue app up to date by downloading the latest version from your device’s app store.
Enhancing your Lighting Experience
Exploring advanced features and customization options
Once you have successfully installed your Philips Hue system, take the time to explore the advanced features and customization options available. Experiment with different lighting scenes, create dynamic color routines, and explore the capabilities of the app to truly personalize your lighting experience.
Using third-party apps and integrations
In addition to the Philips Hue app, there are numerous third-party apps available that can enhance your lighting experience even further. These apps offer additional features like music sync, advanced automation, and expanded color options. Explore the app store specific to your device to discover the wide range of third-party apps compatible with Philips Hue Smart Lighting System.
Creating immersive lighting scenes
With the flexibility and versatility of Philips Hue, you can create truly immersive lighting scenes in your home. Whether you want to recreate the warm ambiance of a sunset or bring the excitement of a concert to your living room, the app allows you to create and save your own lighting scenes for various moods and occasions.
Conclusion
Congratulations on successfully installing your Philips Hue Smart Lighting System! By embracing this connected lighting technology, you’ve transformed your home into a more convenient and versatile living space. Enjoy the convenience of controlling your lights with a single app, explore the endless possibilities of customization, and embrace the future of connected living with Philips Hue.