Are you ready to take your pumpkin carving skills to the next level this Halloween? Look no further than this article on Pumpkin Carving Tools for Beginners. Whether you’re a complete novice or just looking to improve your technique, we’ve got you covered. From basic carving kits to specialized tools, we’ll explore all the essentials you need to create impressive and intricate designs on your pumpkins. Get ready to impress your friends and family with your newfound pumpkin carving prowess!
Table of Contents
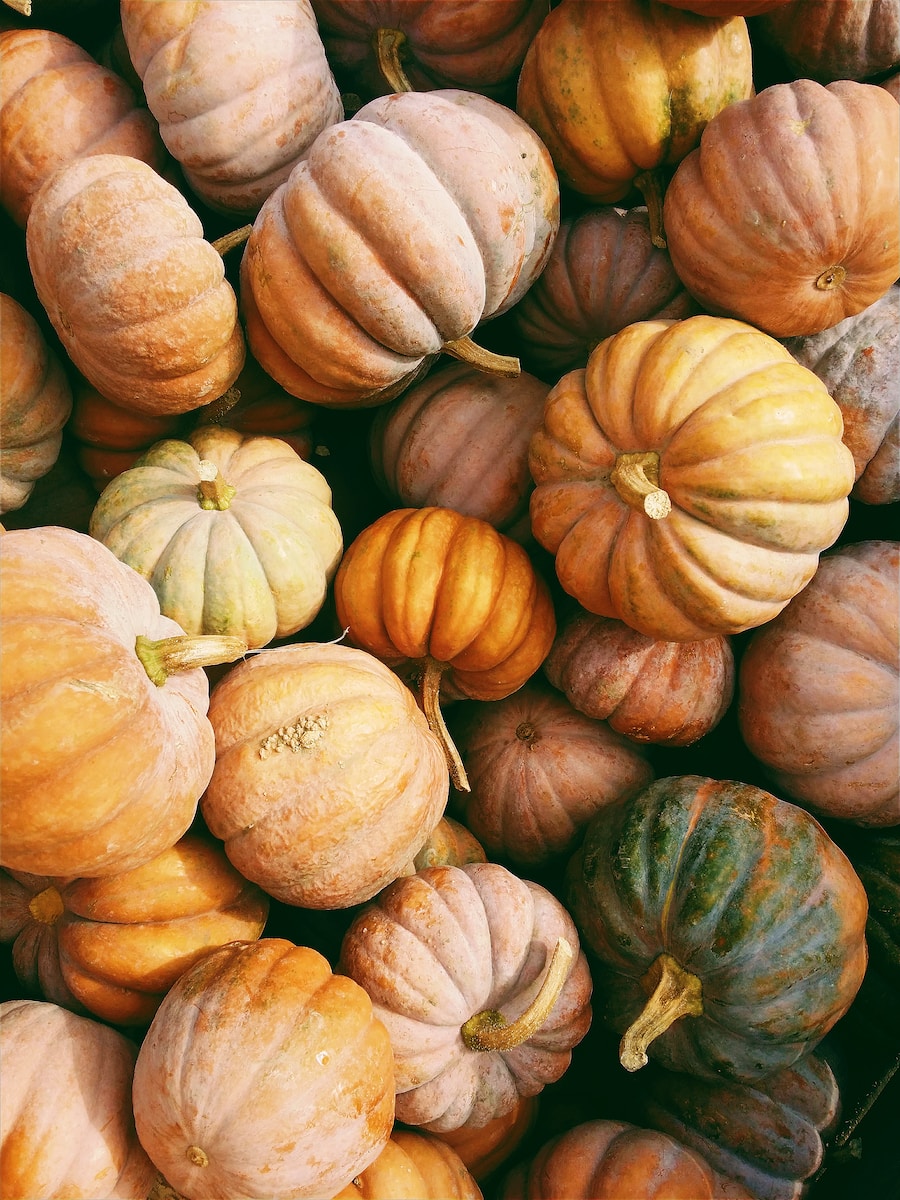
Choosing the Right Pumpkin
When it comes to pumpkin carving, choosing the right pumpkin is essential. Size and shape play a significant role in creating the perfect design. While some may prefer large, round pumpkins, others might opt for smaller, irregularly shaped ones. Consider the space where you plan to showcase your carved creation, as well as the design you have in mind. Additionally, you’ll want to ensure that the pumpkin has a firm and smooth exterior for easier carving.
Firmness and Texture
To ensure a successful carving experience, pay attention to the firmness and texture of the pumpkin. A pumpkin should feel firm to the touch, indicating that it is fresh and less likely to collapse under the pressure of the carving tools. Avoid pumpkins with soft spots, as they may rot quickly and make your carving efforts futile. Additionally, a smooth and even texture will provide a better surface for carving intricate details.
Stem and Base
While it may seem like a minor detail, the stem and base of the pumpkin can impact the overall aesthetic of your carving. Look for pumpkins with sturdy stems intact, as they will add character and serve as a natural handle when removing the top for carving. Similarly, a flat base will ensure that your pumpkin stands upright, preventing it from rolling or tipping over once you display it. These small details can make a significant difference in the final result.
Basic Pumpkin Carving Tools For Beginners
Before diving into the world of intricate pumpkin carving, it’s essential to start with the basics. A pumpkin carving kit tailored for beginners is an excellent place to start. These kits typically include serrated knives, saws, and scooping tools specifically designed for pumpkin carving. They are user-friendly, easy to control, and perfect for creating simple designs. If you don’t have a carving kit, you can also utilize basic kitchen tools such as a paring knife, melon baller, or even a sturdy spoon.
Kitchen Tools
When in doubt, raid your kitchen for suitable pumpkin carving tools. In addition to the aforementioned melon baller and paring knife, you can use larger, sharp knives available in your kitchen. Chef’s knives or steak knives work well for larger cuts and help create bold designs. Additionally, cookie cutters can be repurposed as stencils for tracing shapes onto your pumpkin. Get creative and explore the possibilities with the tools at your disposal.
Household Items
Don’t overlook the potential of everyday household items for pumpkin carving. Some useful tools you may find lying around the house include a serrated bread knife, a drill, or even an ice cream scoop. These items can help you achieve different textures and add unique touches to your pumpkin carving. The possibilities are endless, and using household items can save you money while still achieving impressive results.
Essential Pumpkin Carving Tools For Beginners
As you progress in your pumpkin carving skills, investing in essential tools will enhance your carving experience. These tools are specifically designed for carving and provide more precision and control, allowing you to bring your designs to life. A carving knife is a must-have for clean and intricate cuts. A pumpkin scoop will help you efficiently remove the pulp without damaging the interior walls. Detailing tools, such as small gouges and sculpting tools, are vital for adding intricate details to your designs.
Carving Knife
A carving knife is an essential tool for more advanced pumpkin carving. It features a sharp blade specifically designed for smoothly cutting through the tough skin of the pumpkin. The blade is usually curved, allowing for better control and precision. With a carving knife, you can create intricate designs, sharp angles, and precise lines. It is a tool that will take your pumpkin carving skills to the next level.
Pumpkin Scoop
To achieve a clean and hollow interior, a pumpkin scoop is a must-have tool. Unlike basic scooping tools, a pumpkin scoop is designed to remove the pulp and seeds efficiently, leaving the pumpkin walls intact. Its curved and serrated edges make the scooping process much easier and quicker. With a pumpkin scoop, you can ensure that the interior of your pumpkin is perfectly smooth, providing a solid foundation for your carving masterpiece.
Detailing Tools
To add those special finishing touches and intricate details to your pumpkin carving, detailing tools are a must. These tools come in various shapes and sizes, allowing you to carve fine lines, create texture, or even sculpt three-dimensional designs. Gouges, chisels, and small saws are common detailing tools used by professional carvers. With these tools, you can take your pumpkin carving skills to a whole new level of artistry.
Advanced Pumpkin Carving Tools
For those who are truly passionate about pumpkin carving, advanced tools can take your creations to new heights. These tools require extra caution and experience, but the results can be awe-inspiring. Power tools like reciprocating saws or rotary tools equipped with cutting attachments allow for precise and rapid carving. An electric carving knife provides clean and effortless cuts, making intricate designs a breeze. Additionally, professional carving tools, such as Japanese carving knives or micro-saws, offer unparalleled precision and control. You will see a lot of these types of equipment on shows like Outrageous Pumpkins.
Power Tools
Power tools can add a new level of excitement and efficiency to your pumpkin carving process. Reciprocating saws, commonly known as “saws-all,” are powerful cutting tools that allow you to carve intricate designs with ease. With different blade options, you can achieve various cutting effects and textures. Rotary tools, like Dremels, equipped with cutting attachments, are perfect for precision carving and etching. However, when using power tools, it’s crucial to follow all safety guidelines and exercise caution.
Electric Carving Knife
An electric carving knife is a game-changer for pumpkin carving enthusiasts. These knives feature serrated blades powered by electricity, making them incredibly efficient and effortless to use. They provide clean and controlled cuts, allowing for intricate designs without putting excessive pressure on your hands. The electric carving knife ensures a smoother carving experience, particularly for those with limited hand strength or dexterity.
Pro Carving Tools
For the serious pumpkin carvers who aim for professional-level results, investing in high-quality carving tools is a must. Professional carving tools often include Japanese carving knives, known for their exceptional sharpness and precision. These knives allow for intricate detailing and fine lines. Micro-saws and chisels are also popular pro carving tools, enabling delicate carving techniques. With the right tools, you can achieve stunning, museum-worthy pumpkin carvings.
Safety Tips for Pumpkin Carving
While pumpkin carving is a fun and creative activity, it’s crucial to prioritize safety to avoid accidents and injuries. By following a few simple precautions, you can ensure a safe and enjoyable carving experience.
Choose a Safe Location
Selecting an appropriate carving location is essential in promoting safety. Find a well-lit area with a stable surface to work on. It’s advisable to work outdoors or in a well-ventilated space to reduce the risk of inhaling dust or fumes. Keep the carving area clear of clutter, providing enough room for maneuvering tools and preventing accidents caused by tripping or knocking over objects.
Use Protective Gear
Wearing appropriate protective gear is important to prevent injuries during pumpkin carving. Gloves can protect your hands from accidental slips or cuts. Non-slip mats or grip pads can provide stability during the carving process. Safety goggles or glasses should be worn to shield your eyes from flying debris. Remember, taking a few minutes to wear protective gear can save you from potential accidents or injuries.
Supervise Children
If children are participating in pumpkin carving, supervision is crucial. Ensure that they are using age-appropriate tools and provide guidance throughout the process. By being present and attentive, you can prevent accidents and teach them the importance of carving safety. Additionally, make sure children wash their hands thoroughly after handling pumpkins to avoid any potential contamination from bacteria or fungi.

Preparing the Pumpkin
An adequately prepared pumpkin is the foundation for a successful carving. Follow these steps to prepare your pumpkin for carving.
Remove the Top
To begin carving a pumpkin, you’ll need to remove the top. Using a serrated knife or pumpkin saw, carefully cut around the stem at a 45-degree angle, creating a lid. Once cut, gently lift the lid and set it aside. This opening will serve as your access point for cleaning and carving the pumpkin.
Clean Out the Insides
After removing the top, it’s time to clean out the pumpkin’s insides. Start by using a pumpkin scoop or sturdy spoon to scrape out the pulp and seeds. A pumpkin scoop’s serrated edges can help remove the pulp efficiently, leaving the pumpkin walls intact. Clean out as much as possible from the interior, ensuring a smooth and clean surface for carving. Separate the seeds if you plan to roast them for a delicious snack later!
Smooth the Interior
To achieve a polished and professional look, it’s essential to smooth the interior walls of the pumpkin. Use a scraping tool, such as a spoon or melon baller, to scrape away any remaining strands of pumpkin flesh or irregularities. Smoothing the interior will enhance the glow of the candle or light source placed inside the carved pumpkin, creating a more dramatic effect.
Basic Pumpkin Carving Techniques
Once your pumpkin is prepared and your tools are ready, it’s time to start carving. Follow these basic techniques to create stunning designs on your pumpkin.
Outline Your Design
Before making any cuts, outline your design on the pumpkin’s surface. You can freehand draw your design or use stencils. Stencils can be found online or created by tracing a printed image onto tracing paper. Tape the stencil securely to the pumpkin, ensuring it doesn’t move while carving. Trace the design onto the pumpkin’s surface using a fine-point marker or a pen. This will serve as your guide as you carve.
Cutting Techniques
When it comes to cutting, there are several techniques you can use to achieve different effects. For simple designs, you can use the classic cutting technique by inserting the blade at a slight angle and carving along the traced lines. For more complex designs, you may need to use techniques like etching or engraving. Etching involves lightly scratching the surface of the pumpkin to create texture, while engraving involves making deeper cuts to create shadows and contrast.
Layering and Depth
To enhance your pumpkin carving design, consider incorporating layering and depth. This technique involves carving different layers of the pumpkin’s flesh to create a multi-dimensional effect. By carving deeper into certain areas and leaving others intact, you can create shadows and highlights that bring your design to life. Layering and depth add complexity and visual interest to your pumpkin carving, making it stand out from the ordinary.
Creating Simple Pumpkin Designs
If you’re a beginner or short on time, simple pumpkin designs can still make a vibrant impact. Consider these easy and popular designs that are sure to impress.
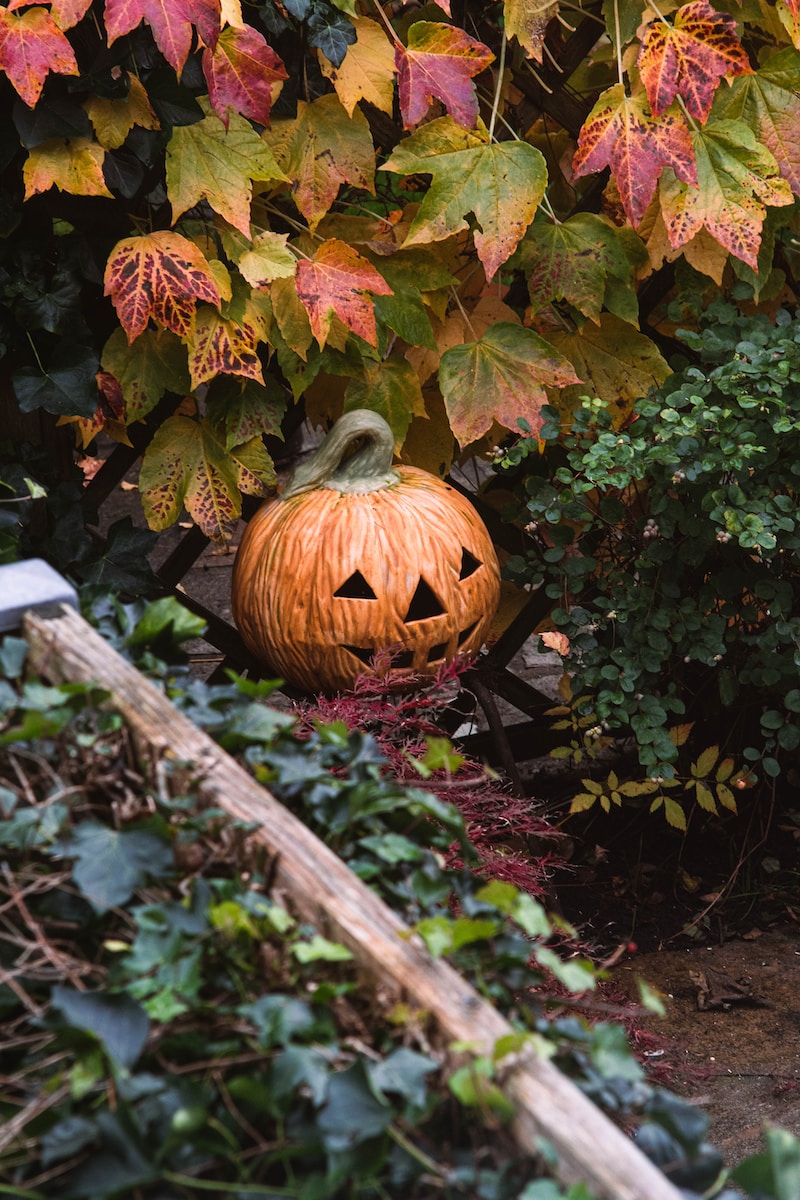
Classic Jack-o’-Lantern
The classic Jack-o’-Lantern design remains a favorite for pumpkin carving enthusiasts. Begin by carving out two triangular eyes, a nose, and a wide smile. You can give your Jack-o’-Lantern a unique personality by adjusting the size, shape, and angle of these features. Add a few teeth or eyebrows for an extra touch, and voila! Your classic Jack-o’-Lantern is ready to light up the night.
Silhouette Designs
Silhouette designs offer a more elegant and sophisticated take on pumpkin carving. Choose a stencil or trace your own silhouette onto the pumpkin. Carve along the outlined silhouette, leaving the outer pumpkin intact. When illuminated, the silhouette will be the focal point, creating a striking and stylish effect. Silhouette designs can feature animals, landscapes, or even spooky figures for a Halloween-themed twist.
Text or Lettering
Carving text or lettering onto a pumpkin can deliver a personalized message or add a festive touch to your carving. Using stencils or freehand techniques, trace your desired text onto the pumpkin’s surface. Carefully carve along the traced lines, making sure to remove the desired sections to reveal the text. From simple words like “BOO” to intricate quotes or names, text or lettering adds a unique element to your pumpkin carving.
Adding Extra Touches
Once you’ve carved the main design, you can add extra touches to make your pumpkin truly stand out. Consider these additional techniques to enhance the visual appeal of your carved pumpkin.
Etching and Engraving
Etching and engraving involve adding texture and depth to your pumpkin design. To etch, lightly scrape the pumpkin’s surface, creating a scratched effect. This technique works well for creating textures like fur or foliage. Engraving, on the other hand, involves making deeper and more defined cuts into the pumpkin’s flesh. It adds contrast and shadows, creating a more intricate and eye-catching carving.
Pumpkin Painting
If you’re looking to explore different artistic avenues, pumpkin painting is an excellent way to enhance your carving. Paint offers more control and precision when it comes to detailing and color choices. Acrylic or craft paints work well on pumpkins, but be sure to use non-toxic paints that are suitable for outdoor use. Painting allows for intricate designs, shading, and blending, creating a unique, hand-painted masterpiece.
Pumpkin Accessories
Taking your pumpkin carving to the next level can involve incorporating accessories to complement your design. Consider adding props like glasses, hats, or even miniature figurines to your pumpkin. Use toothpicks or skewers to attach these accents securely. Accessories can turn an ordinary pumpkin into a character or bring life to a specific theme, making your carving even more impressive.
Preserving Your Pumpkin
After putting in the effort to create an intricate pumpkin carving, preserving your masterpiece becomes essential to enjoy it for as long as possible.
Sealing the Cut Edges
To prevent your pumpkin from drying out too quickly, seal the cut edges with petroleum jelly or vegetable oil. Apply a thin layer along the exposed areas to create a barrier and lock in moisture. This simple step will slow down the dehydration process, extending the lifespan of your carved pumpkin.
Spraying with Antifungals
To combat the growth of mold or other fungi, consider spraying your carved pumpkin with antifungal sprays. These sprays are readily available at gardening or home improvement stores and can significantly prolong the life of your carving. Follow the instructions on the product label and apply the spray to the interior and cut edges of the pumpkin.
Avoiding Extreme Temperatures
While pumpkins thrive in cool temperatures, extreme cold or heat can damage your carved pumpkin. Avoid placing it in direct sunlight, as excessive heat can cause wilting and accelerate rotting. Similarly, exposing your pumpkin to freezing temperatures can cause it to collapse or become mushy. To preserve your pumpkin’s integrity, display it in a cool and shaded area, away from extreme temperature changes.
Now You Know Pumpkin Carving Tools For Beginners And Additional Tips
By following the tips and techniques outlined in this article, you can embark on your pumpkin carving journey with confidence. Whether you’re a beginner or a seasoned carver, there is a wide range of tools and techniques to suit your skill level. So, grab a pumpkin, gather your tools, and let your creativity shine as you carve your way to a spook-tacular masterpiece!